Learn How To Change A Radiator Valve In Six Simple Steps: A DIY Guide to Fixing Radiator Leaks with Ecofix
A leaking radiator valve can be a common issue in heating systems, causing water damage and reducing the efficiency of your home heating. In this guide, we will walk you through six simple steps to change a radiator valve and repair leaks effectively, with a focus on using Ecofix for a sustainable and lasting solution.

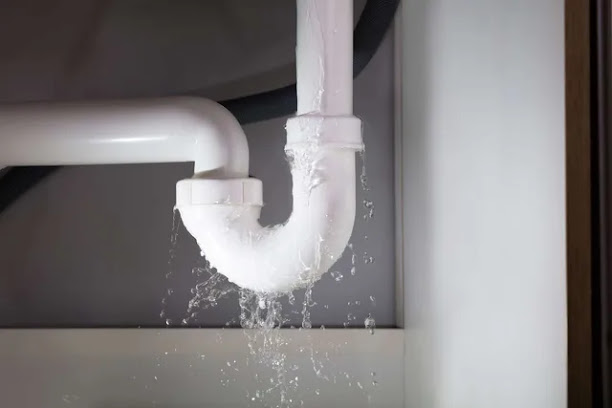
Identify the Leak:
Before starting the replacement process, identify the location of the leak. Look for water puddles or damp areas around the radiator valve. If the leak is severe or beyond your comfort level to fix, consider consulting a professional.
Turn Off the Heating System:
Ensure that the heating system is turned off before attempting any repairs. This prevents hot water from causing burns or further exacerbating the leak during the replacement process.
Drain the Radiator:
Place a container beneath the radiator valve and use a radiator key or a flathead screwdriver to open the bleed valve. Allow the water to drain until it stops completely. This step is crucial to prevent water spillage during the valve replacement.
Remove the Old Radiator Valve:
a. Use an adjustable wrench to disconnect the old valve from the radiator. Turn it counterclockwise until it comes off.
b. Have a cloth or a bucket handy to catch any remaining water that may drain from the disconnected valve.
c. If the valve is stuck, applying penetrating oil to the threads and waiting a few minutes can make it easier to unscrew.
Prepare the New Valve:
a. Wrap the threads of the new radiator valve with plumber's tape to create a watertight seal.
b. Carefully screw the new valve into place, ensuring it is tight but not over-tightened to avoid damaging the threads.
a. Clean the area around the newly installed valve with a cloth or sponge.
b. Apply Ecofix according to the manufacturer's instructions, covering the entire valve and any potential leak points.
c. Allow the Ecofix to dry completely before turning the heating system back on.
Test the Repair:
Once the Ecofix is dry, turn on the heating system and monitor the repaired valve for any signs of leaks. Check for dampness or water puddles around the valve.
Conclusion:
Changing a radiator valve is a manageable DIY task, and with the added benefit of Ecofix, you can address leaks effectively and sustainably. By following these six simple steps, you can enhance the efficiency of your heating system and prevent water damage caused by a leaking radiator. Always exercise caution, and if in doubt, consult a professional for assistance.

Comments
Post a Comment