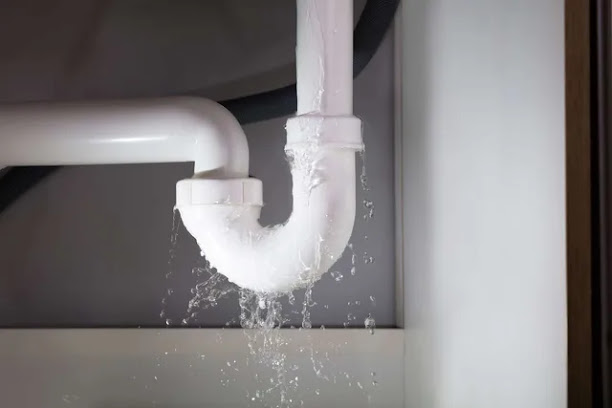
How to Fix Leaking Pipe Under Bathtub
- Get link
- X
- Other Apps
Fixing a leaking pipe under a bathtub is a task that may require some plumbing skills. If you're comfortable with basic plumbing work, here's a step-by-step guide to help you address a leaking pipe under your bathtub:

Materials and Tools:
- Pipe wrench
- Plumber's tape
- Plumber's putty or pipe joint compound
- Replacement pipe or pipe section (if needed)
- Pipe fittings (if needed)
- Bucket and towels
- Teflon tape
Step 1: Turn Off the Water Supply: Locate the water shut-off valve for the bathtub, usually found in the vicinity of the tub or in the basement. Turn off the water supply to prevent further leakage.
Step 2: Empty the Area: Clear out any items from under the bathtub and place towels or a bucket to catch any residual water.
Step 3: Identify the Leaking Pipe: Inspect the area under the bathtub to identify the leaking pipe. Be sure to wear safety gloves and eye protection.
Step 4: Remove Excess Water: Use towels or a bucket to remove any standing water around the leaking pipe. Ensure the area is dry before proceeding.
Step 5: Use a Pipe Wrench: Use a pipe wrench to loosen and remove the damaged section of the pipe. If there's a specific joint leaking, you might only need to tighten or replace that part.
Step 6: Clean the Pipe Threads: Clean the threads of the pipe using a wire brush or a rag to remove any old plumber's tape or debris.
Step 7: Apply Plumber's Tape: Wrap plumber's tape (Teflon tape) clockwise around the threads of the pipe. This helps create a watertight seal when you reconnect the pipes.
Step 8: Reconnect or Replace the Pipe: Reconnect the pipe, ensuring a tight fit. If the pipe is damaged beyond repair, you may need to replace it. Use the pipe wrench to secure the connections.
Step 9: Apply Plumber's Putty or Pipe Joint Compound: If you are reconnecting pipes with threaded connections, apply plumber's putty or pipe joint compound to the threads before tightening. This helps create a secure and leak-resistant seal.
Step 10: Turn On the Water Supply: Turn the water supply back on and check for leaks. If there are no leaks, you have successfully fixed the issue.
Step 11: Monitor for Leaks: Monitor the repaired area for some time to ensure there are no new leaks. If any issues persist, consider seeking professional assistance.
Remember, if you're unsure about any step or if the leakage is extensive, it's always best to consult with a professional plumber to ensure a proper and lasting repair.
- Get link
- X
- Other Apps


Comments
Post a Comment